Calibrating the printer to your labels
- On the printer buttons press MENU
- Use the up and down arrows to navigate to the Media menu option. Click OK

- Use the down arrow to select Calibration and Click OK
- Wait until the calibration is complete and a single label is printed. You will know this is successful as your printer will display a screen that says “Working” and then show you its detected label size.


When printing sometimes you might notice that the labels are slightly misaligned. This can happen if there are slight differences in the labels across rolls used. If this happens and you have followed the steps already on the calibration section above, you can manually add some padding around your label print by following the steps below:Manually adding padding to the Labels: - Click MENU
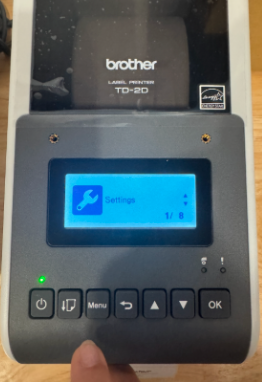
- Click Settings
- Use the up and down arrows to navigate to:
- Print Adjust (X) if you want to add space at the left or right of your print.
- Print Adjust (Y) if you want to add space at the top or bottom of your print
- Use the arrows to adjust the values on the screen and click OK when you have the desired value.
NOTE: There is another useful setting called Print Density under the Settings options. This will allow you to make your print brighter/more bolded - the higher the number the brighter the print.
> Learn how to setup your printer here
> Learn how to connect your printer here