To start printing with your Brother printer after you have connected to wifi please follow these steps:
Changing or Inserting a New Label Roll:
- Press and Hold the power button to turn the Printer to Off.
- Pull up the lever on both sides to lift the cover of the Roll Compartment.
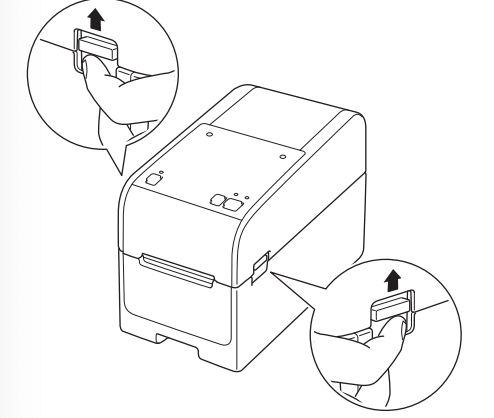
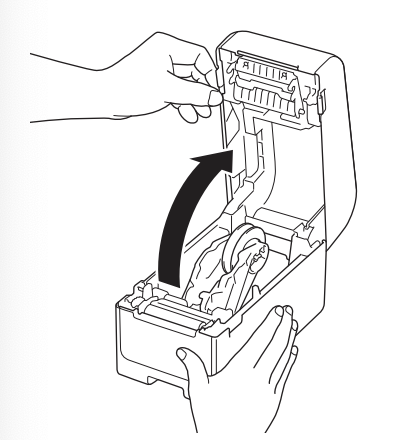
- Lift the Roll Compartment Cover - Be careful with the tear bar as it might result in injury.
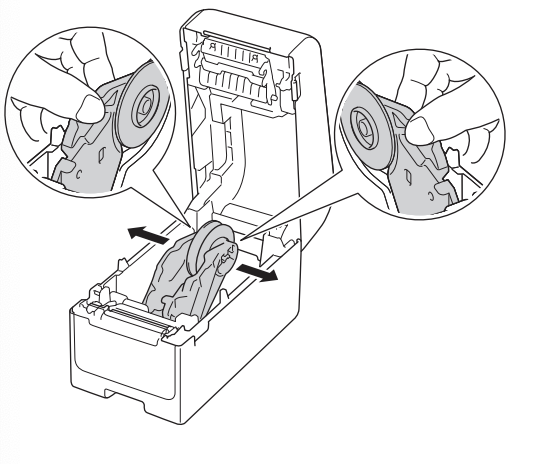
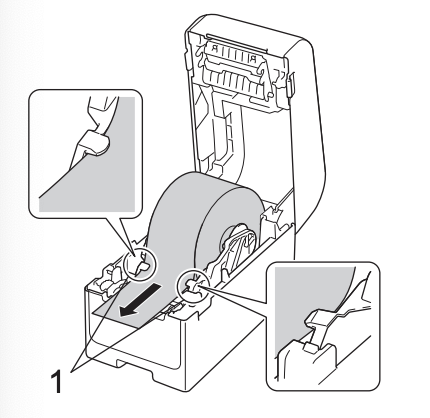
- Slide the Roll Guides outwards.
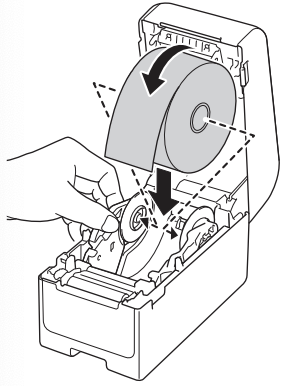
- Insert the roll and make sure the printing surface it facing up.
- Adjust the Roll Guides to hold the label roll but make sure there are not too tight.
- Feed the paper under the media guides.
- Close the Roll Compartment until it locks into place.
- Press the feed button to align the end of the roll.

- Navigate to the PathSpot App and print a label.
- If the label has any issues, reopen the cover make sure the label is correctly secured and that part of the label paper is left outside of the printer as shown on the picture on step 7 above.
Adjusting the alignment of the Printer (Only if instructed by the PathSpot team):
If the alignment of the label is slightly off, you might need to update the print margins on the printer. To do so, just follow the steps below:
- Click the Menu Button on the Printer.
- Use the Arrow Buttons to navigate to Settings.
- Click Print adjust.
- Update the x and y positioning (1-2 mm is the usually needed change) as directed by the PathSpot team- Note this can be a + or a - number.
- Navigate out of the Menu page.
- Press the feed button to align the end of the roll.

- Reprint labels to confirm, and readjust as needed.