Connecting the Probe
Follow these steps to set up and start using your PathSpot SafetySuite probe with your iPad.
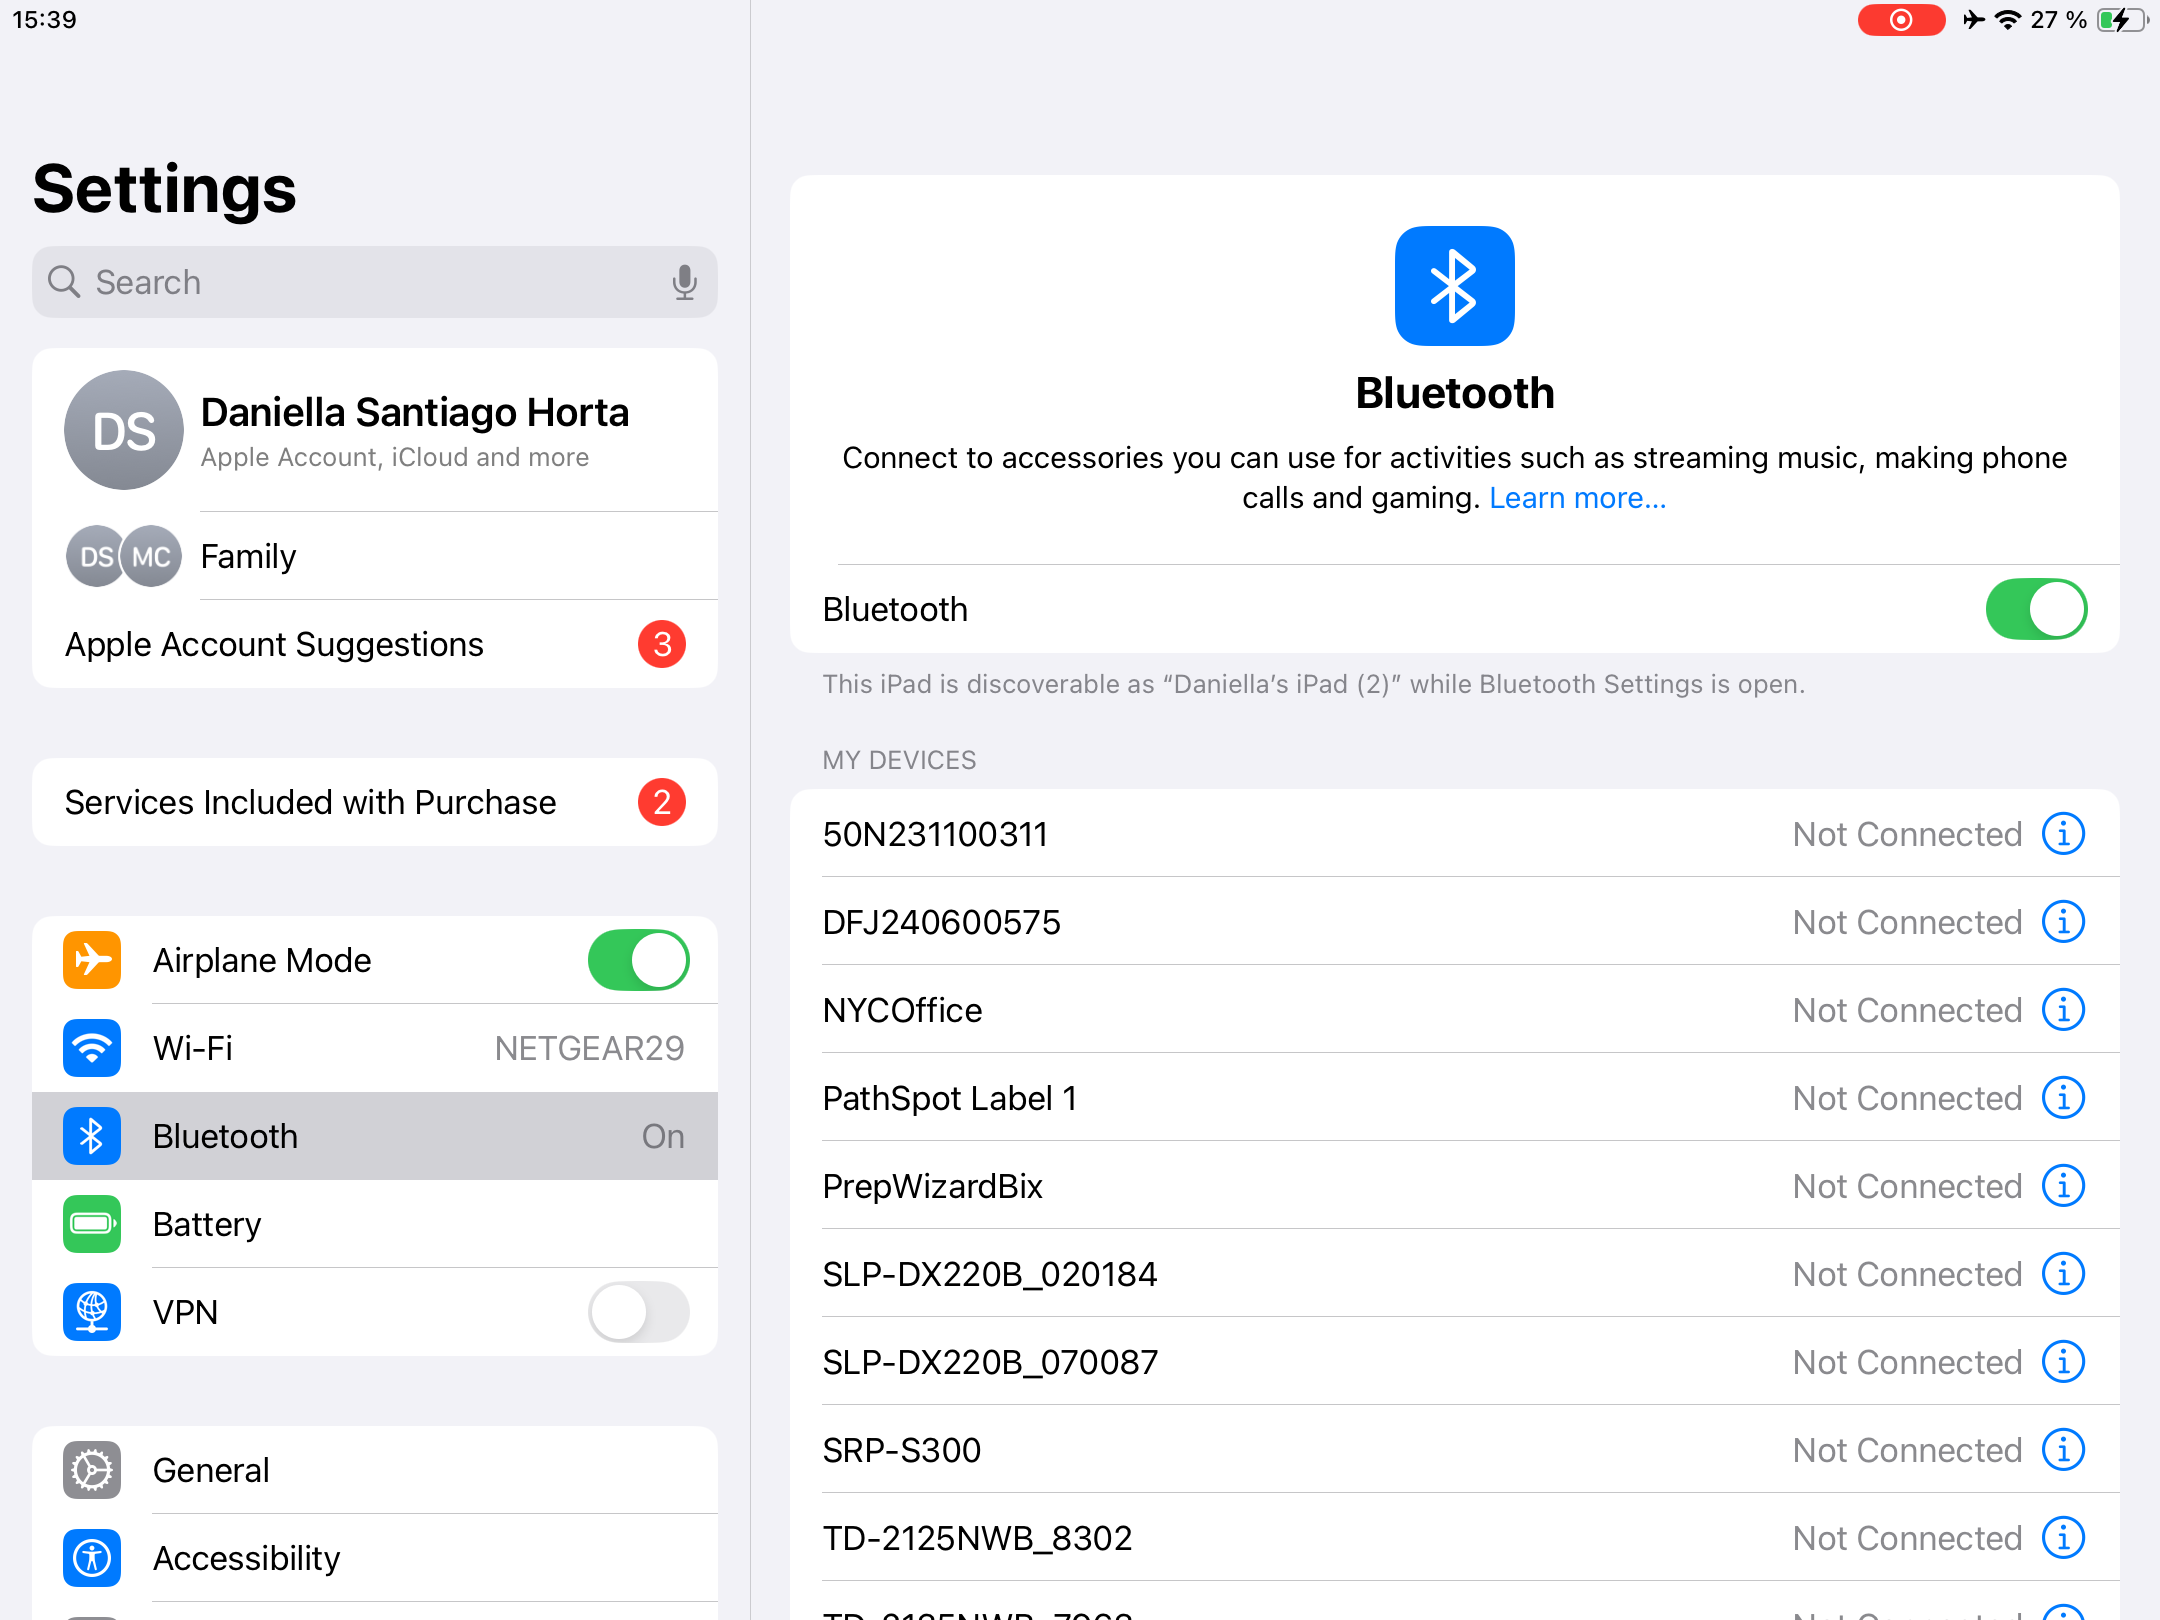
- Open the Settings app on your iPad and ensure that Bluetooth is turned on. Do not manually connect the probe to your iPad at this stage, as this may interfere with proper setup.
- Download the PathSpot SafetySuite iOS App from the App Store if you haven't already. If you already have the app, ensure you are using the latest version by following the update instructions provided in the app’s walkthrough document.
- If you are a first-time user, open the PathSpot SafetySuite App and register your device using the one-time-use registration code provided by PathSpot.
- Log in to the app by selecting your user name and entering your numerical PIN, or creating one if logging in for the first time.
- Navigate to the Tasks tab in the app and select a task list that includes a temperature check.
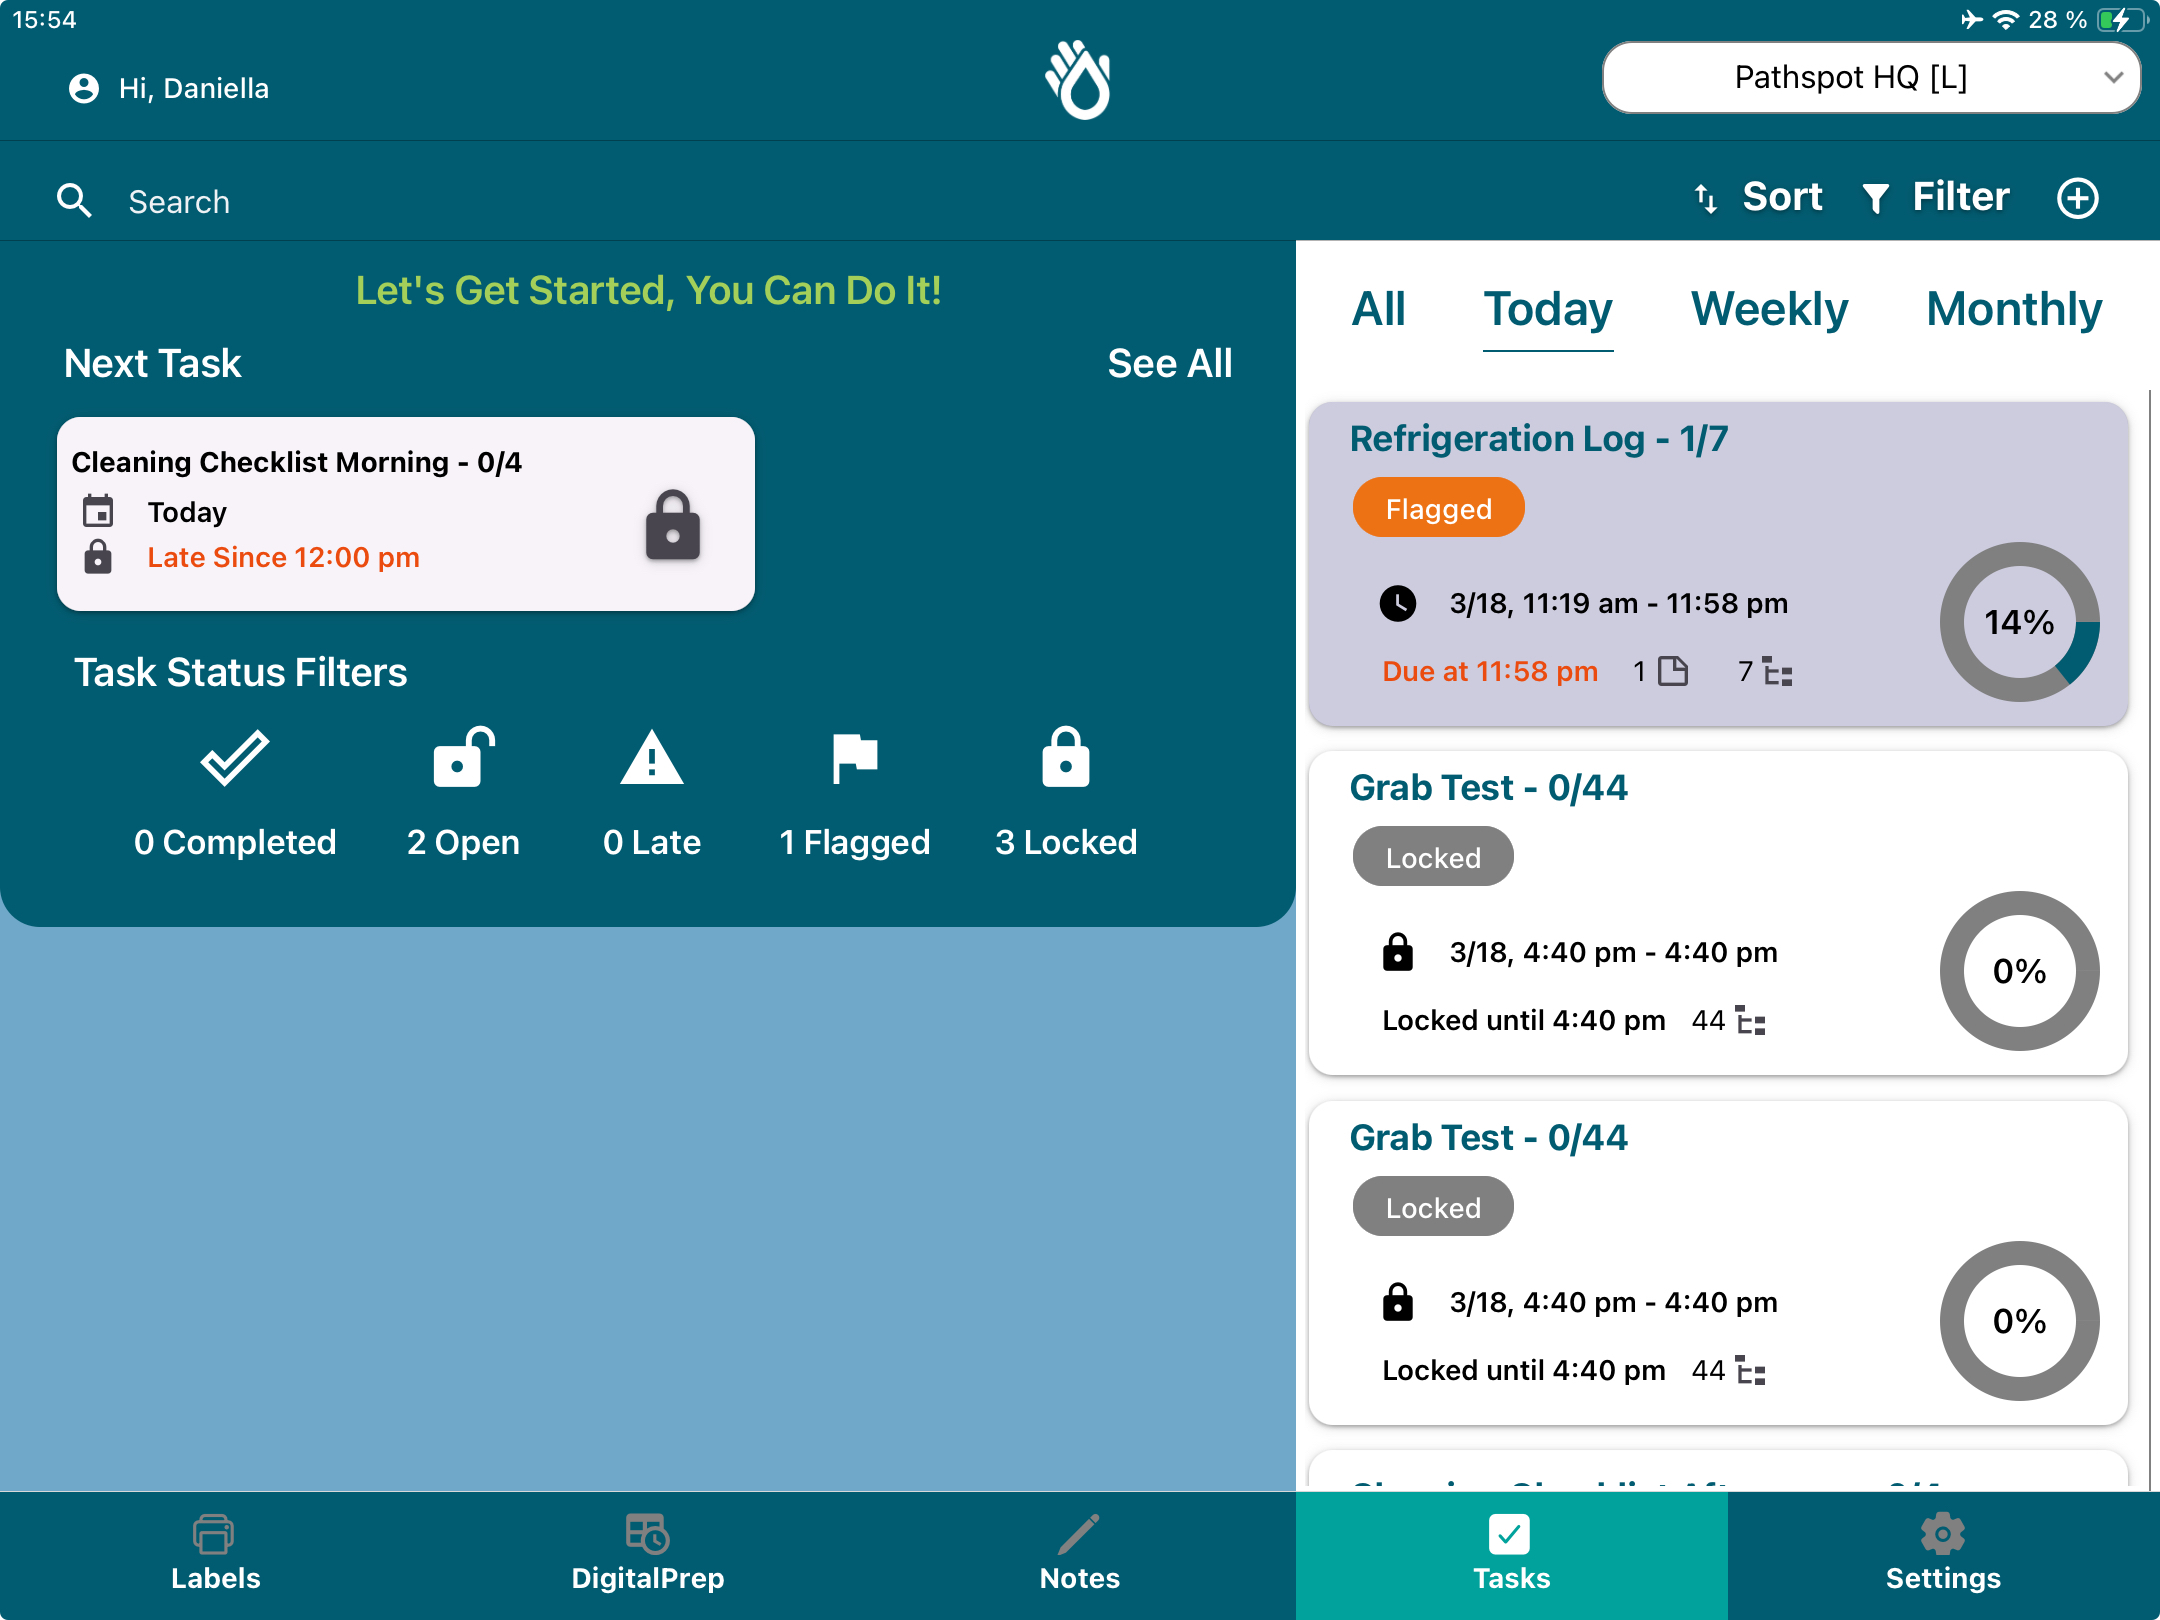
- While on the task list, identify a temperature probe task (not another type of temperature task).
Correct Temperature Probe Task Type: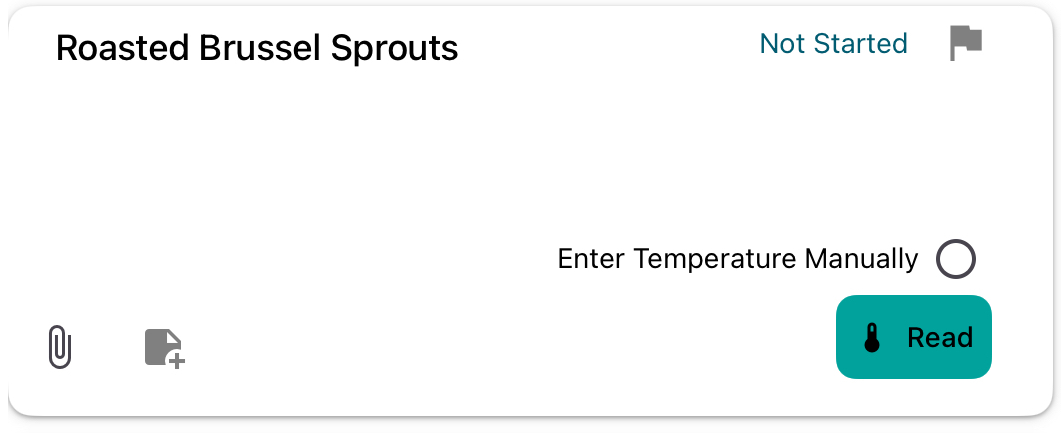
Other Task Types - Dishwasher Probe:
Other Task Types - Unit Temperature Logger:
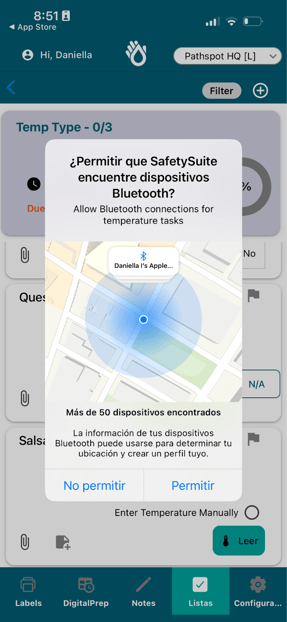
- While the probe is on (swung open) tap Read on the selected temperature probe task. When prompted, tap Allow on the Bluetooth devices pop-up.

- Ensure the probe is within 10 feet of the iPad. If needed, tap Read again to capture the temperature. Once the correct temperature is displayed, tap Save to complete the task.
Note that the probe will show as connected in you bluetooth settings after you establish the b bluetooth handshake above. As a best practice before attempting connection toggle bluetooth off and back on to break any prior connections and then follow the steps above. - When using the probe with the same device, simply turn on the probe and tap Read in the task, no need to repeat the setup steps. If using the probe with another device, follow these steps again to set up the new connection.
Now you’re ready to use your PathSpot SafetySuite temperature probe! If you run into any issues, follow the steps below to fix the issue yourself or contact PathSpot Support at support@pathspottech.com.

Troubleshooting
To effectively resolve issues with your handheld temperature probe (used with the app), please follow the steps outlined below. Working through each route will help identify the problem and guide you toward the appropriate next steps.
>>> IMPORTANT: Never use another charger other than the one provided. Although it may charge the probe, if the voltage is not exactly correct, it can lead to degradation of the charging port. Over time this can cause internal damage and render the probe unusable.
Step 1: Ensure your temperature probe is charged
Long press the power button the inkbird and make sure the probe turns on. You will hear a sound and the screen will light on.
If your probe doesn’t light up, please use the PathSpot provided cord to charge your probe as it is likely this is uncharged.
Note:The cord for the PathSpot probes must be a 2725 30V cable. This means that iPhone and Mac chargers will not work for this probe. To know if your cable will work, plug in the probe to power, if it doesn’t immediately turn on then the cable can’t be used. Contact pathspot support if you need guidance!
Step 2: Ensure your tablet has no issues with bluetooth connection
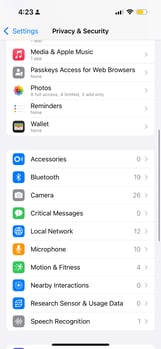
- Navigate to your iPad’s or iPhone’s Setting screen.
- Turn on bluetooth
- Ensure bluetooth devices show up in a list
- If you do not see any Bluetooth devices, please contact your IT team as there could be a problem with your iPads Bluetooth connection.
* Do not connect the inkbird to the iPad through the settings screen.
Step 3: Make sure another PathSpot probe is not connected to the iPad
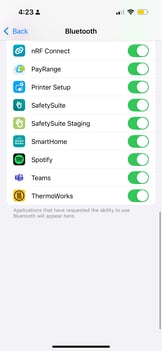
While on your iPad’s settings screen, make sure you do not see a PathSpot probe connected - if you are connected you will see a device connected called “Ink@...” as shown below: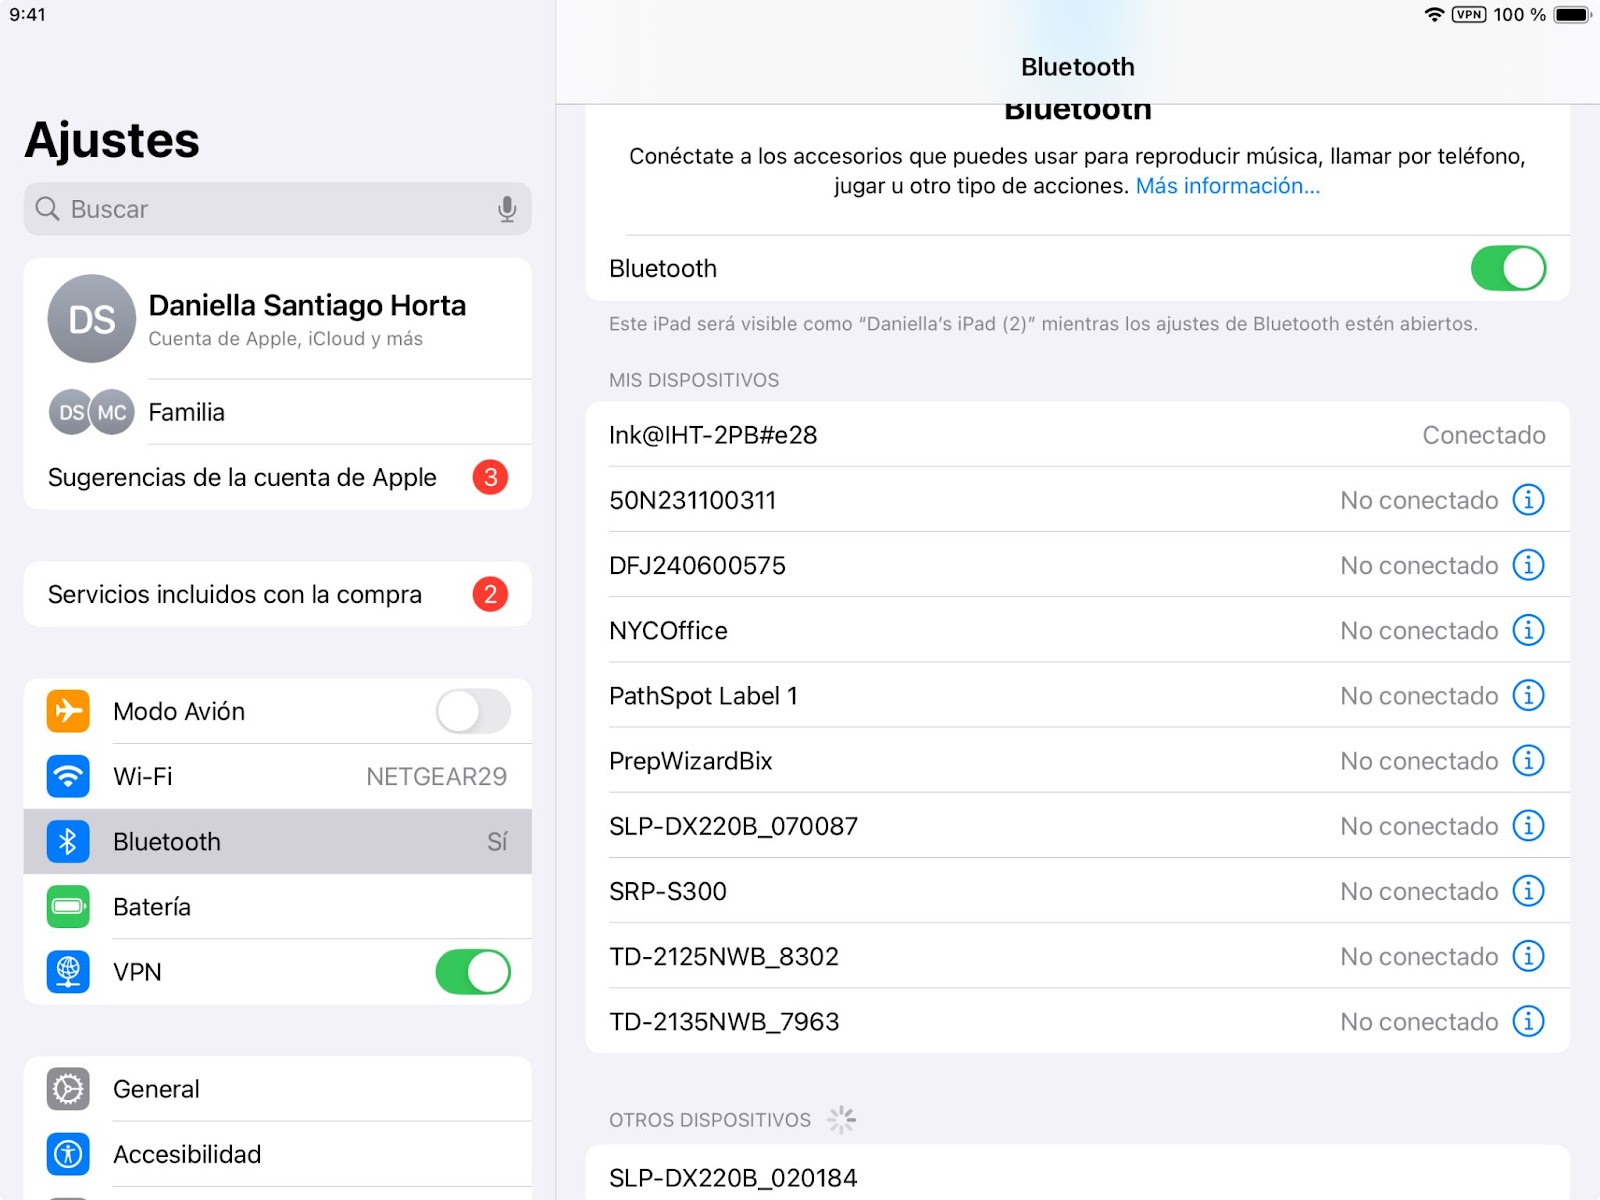
If you see a PathSpot probe device connected to it, turn off bluetooth and turn it back on - the probe should immediately disconnect. Navigate back to the tasks page on the SafetySuite App and press read on a temperature task to check for connection. You might have to click read 2 times to properly connect.
Step 4: Make sure all of your probes are off (multiple probes only)
If you have more than one PathSpot Probe, make sure they are all off.
Steps to turn the off the probes:
- Make sure the probe is swung close and you do not see any values on the screen.
- If the probe is closed, long press the power button until you no longer see the screen lit up or any temperature details on the screen.
- Find the probe you want to use, turn it on and navigate back to the PathSpot SafetySuite App.
- On a temperature task list, press read on a temperature task to check for connection.
Step 5: Allow PathSpot to have bluetooth connections
With the recent updates from Apple, we are now required to request your iPad or iPhone for permission to connect to your devices. Please follow the steps below to ensure this connection is established:
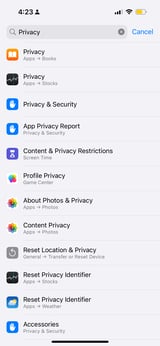
- Navigate to Settings on your iPhone
- Scroll down until you see an “Apps” section.
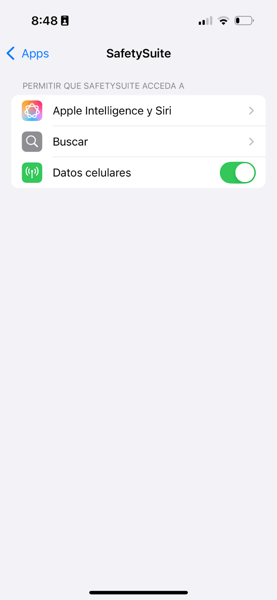
- Click on apps and type “SafetySuite”.
- On the Safety Suite page, if bluetooth is turned to “On”, toggle it “Off” and “On”. If bluetooth is turned to “Off”, turn it to “On”.
You can also access this page by navigating to settings > privacy & security > bluetooth > Safety Suite
%20copy.png?width=163&height=354&name=IMG_3494%20(1)%20copy.png)
If you do not see a bluetooth option, follow the steps below to enable
(skip if the steps above succeeded):
- Navigate to the “Tasks” tab on the Safety Suite App.
- Find a list with temperature enabled.
- Click read on one of the temperature type tasks. A pop up will appear asking you to confirm bluetooth selections.
- Click “Allow”.
- Follow the instructions on the top and make sure bluetooth is set to on.
Find the probe you want to use, turn it on and navigate back to the PathSpot SafetySuite App. On a temperature task list, press read on a temperature task to check for connection. You might have to click read 2 times to get the temperature reading.
Step 6: Reset the app and check for software updates.
Close the PathSpot SafetySuite app by swiping up on your phone or tablet. You will know this was completed as when you open the app back up it will direct you to the PathSpot SafetySuite login page. Once this is done follow the steps below to confirm compatibility:
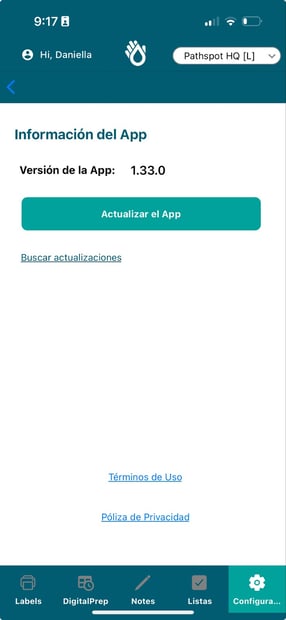
- Navigate to the PathSpot SafetySuite App Settings Page.
- Click App Info
- Click check for Updates. If the app is up to date, you will see a green message confirming no updates are needed.

- If the App is not up to date, click download software to download the most recent version. Once the download is complete, follow Step 5 above to ensure connection is properly enabled.
If your application updates are handled by your IT team, you will see yellow message directing you to contact your organization. Please reach out to the appropriate team to make sure the application is updated to the most recent version. Once this is done, you can confirm by following the steps 1-4 above.
Step 7: Reach out to support (only if all steps above fail)
If you have still not been able to connect your PathSpot probe to the application, email us at support@pathspottech.com or call/text 718-550-0040 and provide the following details:
- Which step did you attempt?
- Do you have one or multiple probes?
- Have you attempted to use this probe with more than one device or do you only use this probe with one iPhone or iPad?
- Does the probe have any physical damage? (Please send a picture of the probe)
- There is an icon on the top of the screen that flashes when the probe is searching for a connection. Is this icon flashing or solid? When you attempted to connect to the app, did the icon continue to flash every 1s or did you notice it connected momentarily and then disconnected?
- Continuous monitoring indicates an app connection issue.
- Intermittent flashing suggests a potential hardware problem
- What does the battery display at the top right? In some cases discharging the probe completely and turning it back on resets the connection and allows it to be used again.