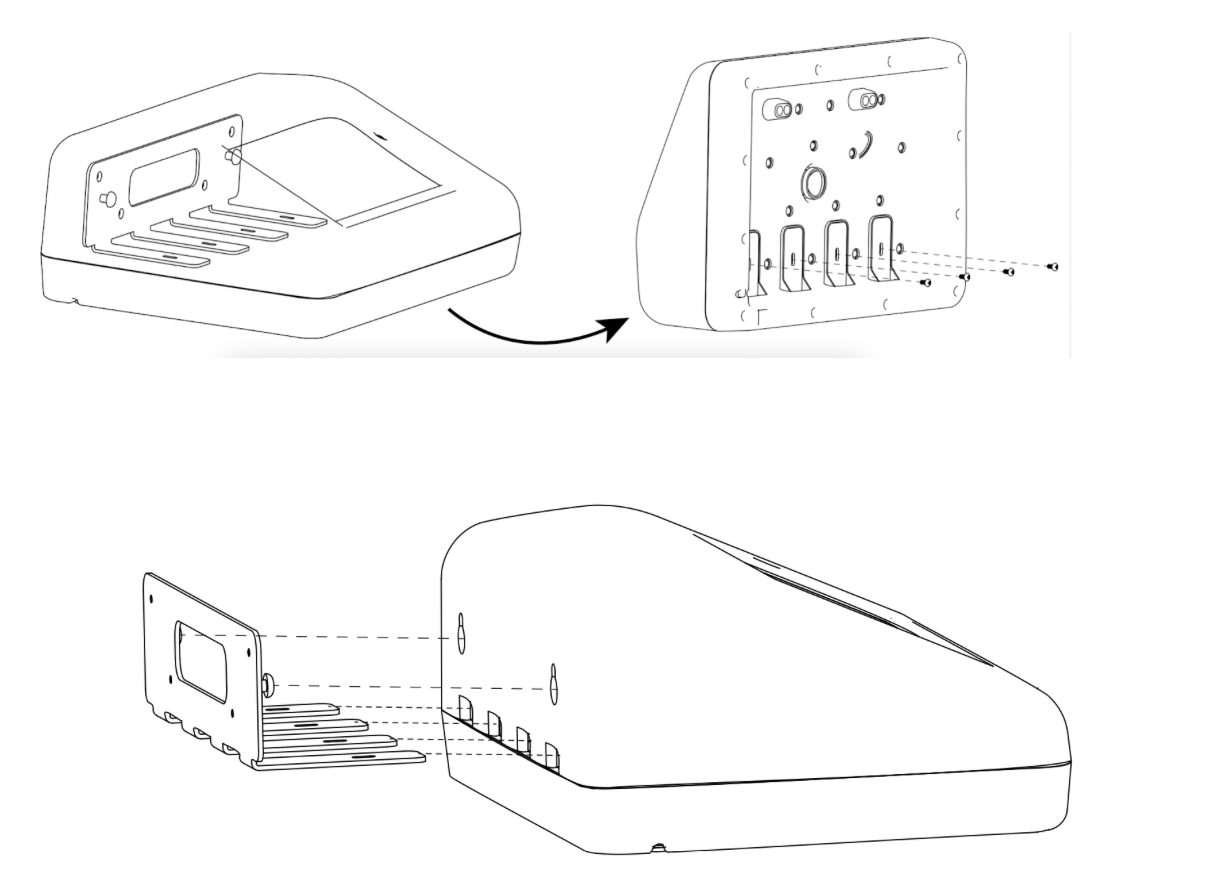
1 . Removing the old device from the wall bracket
- Remove the four screws under the scanner affixing the bracket.
- Lift the scanner up and out, slide it off, and remove the scanner from the wall.
- Slide the new scanner onto the bracket and replace the 4 screws.
 2. Plug the HandScanner into the outlet
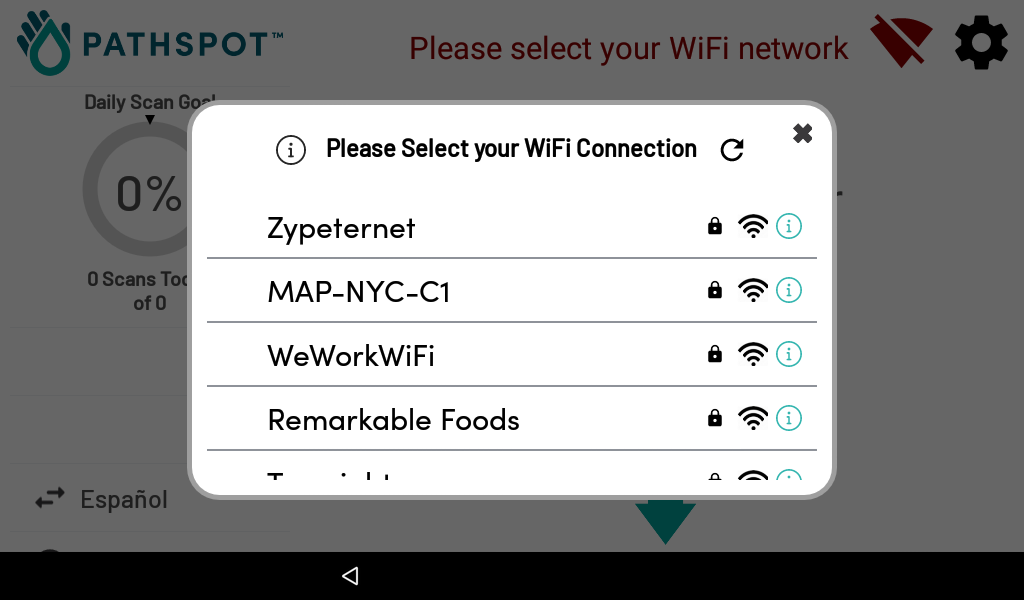
3. Connect to the location’s WiFi Network
A Password may be needed depending on your network. As a reminder private and secure networks are always preferable to captive portals or guest networks. If the device needs to be whitelisted please contact our support team for the MAC address(es).
4. Software Update
While we do our best to update the replacement device before shipping it out to you, there may be a software update ready for download after you connect it to WiFi. Please let the download complete and the HandScanner to fully reboot before attempting to scan.
5. Registration
Your new HandScanner may already be registered to your location. If not you may be prompted for a registration code; please use the one provided by PathSpot Support. If you did not receive a code, please contact support and they will provide it for you.
Tables can't be imported directly. Please insert an image of your table which can be found here.
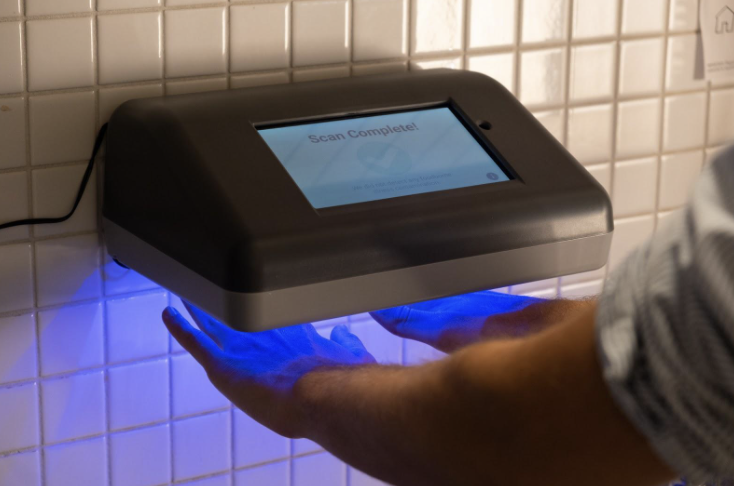
6. Test the Scanner
Follow the prompts on the screen to scan your hands. Optimal placement is ~6 inches below the device and hands spread wide.
Once both hands are analyzed you’ll then be shown a green or red screen. This means your scanner is working successfully!
7. Return
A pre-paid shipping label will be provided either digitally or with the new device to send back the old scanner. You can use the same box the new unit arrived in.
support@pathspottech.com | call/text 718-550-0040